Faucet Valve Seat Replacement DIY Tips
Did you realize a dripping faucet can squander more than 3,000 gallons yearly? That’s enough to fill a small swimming pool! A quick parts swap saves cash and water—no pro plumber required.
This guide makes repairs simple. Grab supplies from Installation Parts Supply and end leaks in no time. Skip costly plumber fees and enjoy a drip-free home using faucet seat replacement.
Use our detailed steps for a hassle-free repair. Quality materials ensure lasting results, and you’ll gain confidence tackling future projects.
Summary Highlights
- Leaks waste water and increase bills—quick fixes prevent damage.
- Self-repairs cost far less than service calls.
- Premium parts from Installation Parts Supply stand the test of time.
- Basic tools and clear guidance suit any skill level.
- Routine care prolongs fixture lifespan.
Why Faucet Valve Seat Replacement Is Essential
A tiny leak feels minor—until it causes major issues. Worn components in your plumbing waste water, hike up bills, and risk damage to your home. Fixing issues early saves money and keeps your fixtures running smoothly.
Spotting a Faulty Valve Seat
Look out for:
- Persistent drips even with the faucet off.
- Inconsistent flow, like spurts or weak pressure.
- Rust or pits on the valve seat area.
A dripping kitchen faucet spoils dishes and stains sinks. Quick fixes avoid larger repair bills.
The Mechanics of Valve Seat Wear
Scale buildup plus friction break down components. This creates gaps where water escapes. Left unchecked, valve seat corrosion can ruin the entire fixture.
Trust Installation Parts Supply for durable replacements. Their components fend off scale and maintain a solid seal.
A fast leaking faucet repair shaves up to 3,000 gallons off your annual usage!
What You Need
Good tools plus quality parts deliver lasting repairs. No matter the leak size, these supplies cut effort and fuss. Collect the following tools and parts:
Must-Have Tools for Valve Seat Replacement
Your minimal toolset:
- Adjustable wrench—to loosen retaining nuts.
- Seat extractor wrench—to pull old seats.
- Screwdriver set—to remove handles and screws.
- Pliers—to hold and remove pins.
Use a seat-grinding bit to clean badly corroded seats. A faucet repair kit with seats, washers, and O-rings covers most replacements.
Where to Buy Quality Parts
Avoid cheap parts that fail fast. Count on Installation Parts Supply for reliable nationwide shipping. Their kits include everything for a tight seal, backed by expert support.
| Essential Tools | Optional (For Advanced Jobs) |
|---|---|
| Adjustable wrench | Valve-seat grinder |
| Seat wrench | Torch (for stubborn parts) |
| Repair kit | Pipe cutter |
Spending on quality gear is worth it. Your fixtures will stay leak-free longer.
How to Replace the Valve Seat
A straightforward DIY fix that halts water loss. No matter your skill level, follow these for success. Ready your tools and dive in.
Step 1: Turn Off Water & Disassemble
Locate the shutoff valves under the sink and turn them clockwise. Turn the faucet on to drain any water left. Use a screwdriver to remove the handle, then unscrew the retaining nut with an adjustable wrench.
Pro Tip: Label parts with tape to simplify reassembly. Installation Parts Supply’s anti-corrosion nuts extend service life.
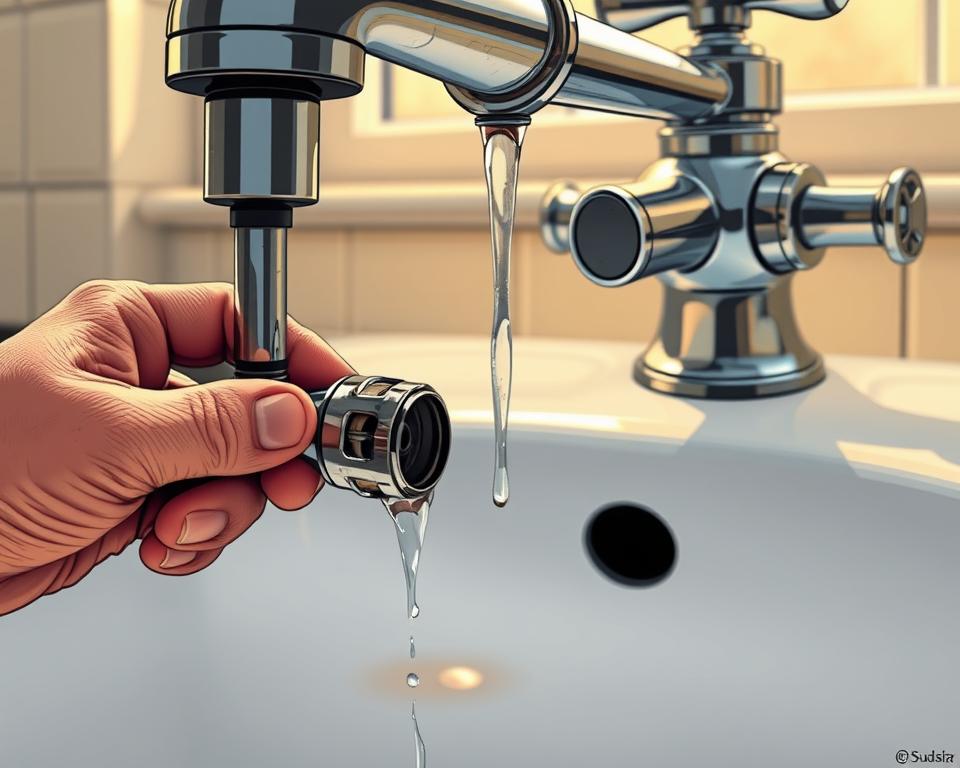
Step 2: Take Out Old Seat
Check for buildup and wear. Fit a seat wrench into the worn component and turn counterclockwise. For stubborn cases, apply penetrating oil and wait 10 minutes before retrying.
| Typical Issues | Solutions |
|---|---|
| Seized seat | Apply gentle heat or locking pliers |
| Stripped threads | Swap out the housing assembly |
Step 3: Install the New Valve Seat
Brush off debris from the threads. Position the new *replace valve seat* from *Installation Parts Supply* and tighten by hand. Use your wrench to snug it up—don’t over-torque.
Step 4: Reassemble and Test for Leaks
Reassemble parts in the opposite sequence. Restore water flow slowly. Watch for any leaks—snug fittings a bit more if needed. Nailing this DIY faucet repair keeps your bills low!
To Summarize
Enjoy peace of mind with sturdy, leak-free plumbing. Addressing issues promptly conserves water and money.
With this guide’s clear steps, anyone can tackle the job confidently. For lasting results, trust Installation Parts Supply—their durable parts resist wear and leaks.
Keep your faucet in top shape by checking washers each year and snugging handles. Minor upkeep goes a long way in avoiding future headaches.
Ready to put your skills to work? Grab your tools, follow the steps, and enjoy a drip-free home today!